
How to enable auto-pay with Calico Systems
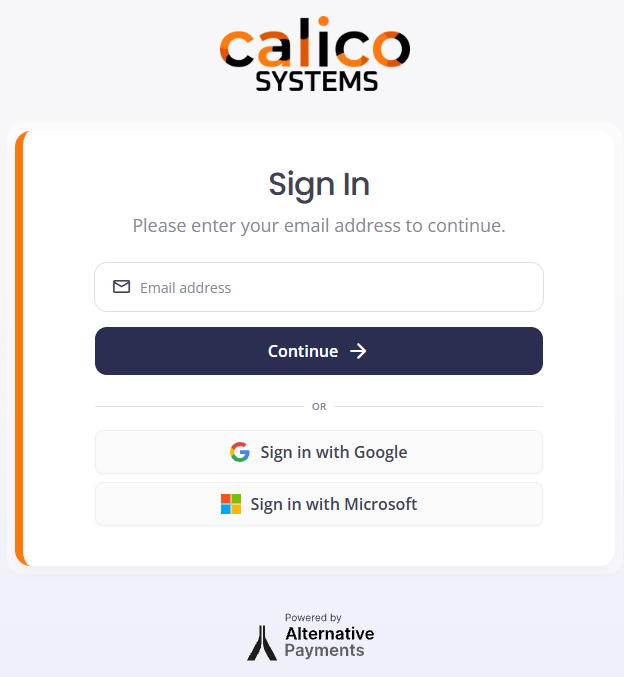
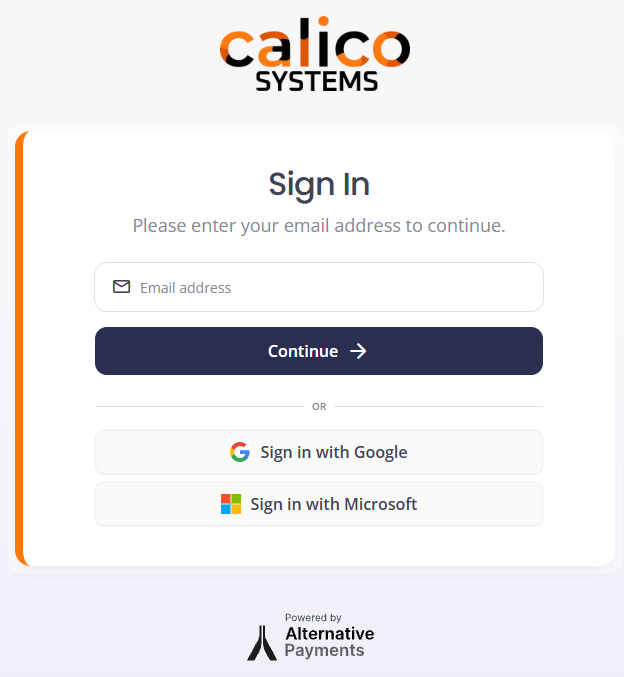
1. Start by logging into our payment portal
To log in, go to https://pay.calico.systems/
if this is your first time logging in, you may be asked to request access to the portal, which will require us to manually set up your account.
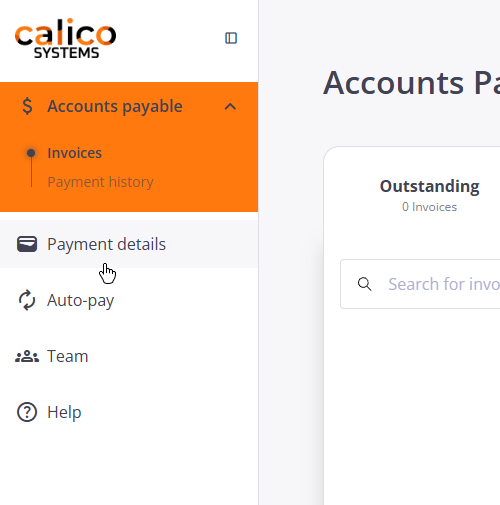
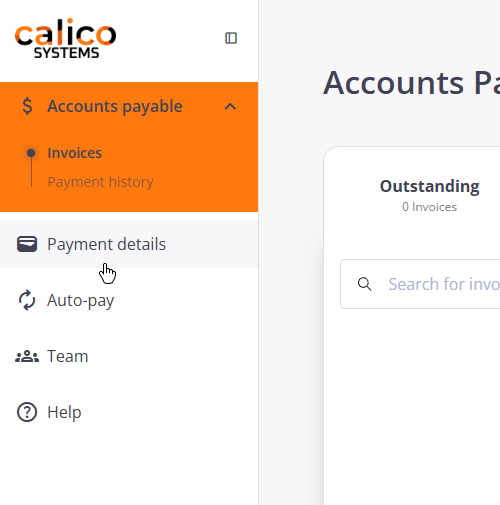
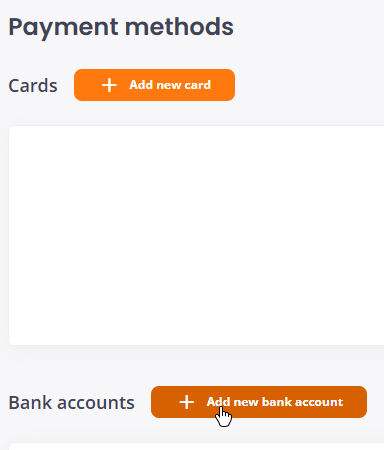
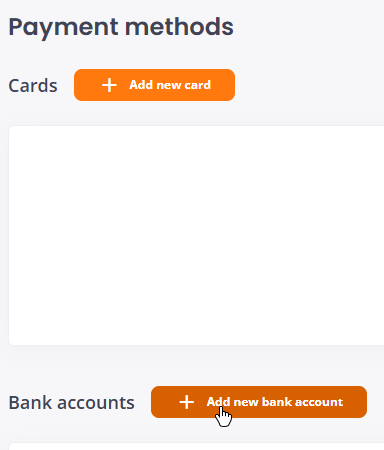
2. Add your bank account or credit card by clicking "Payment Details" on the left.
3. Choose credit/debit card or bank account and enter the information requested.
We prefer bank accounts due to processing fees, but either is accepted!
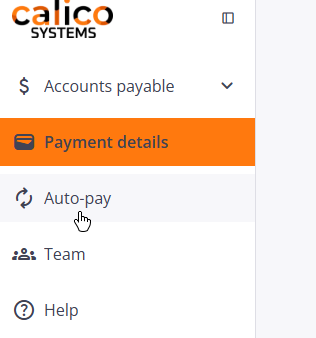
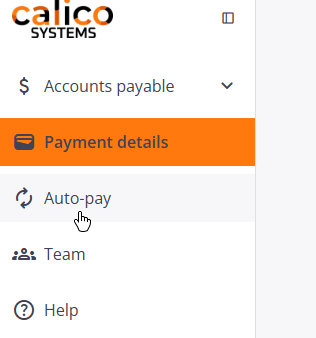
4. Click "Auto-pay" on the left
5. Click "Enable Auto-Pay"
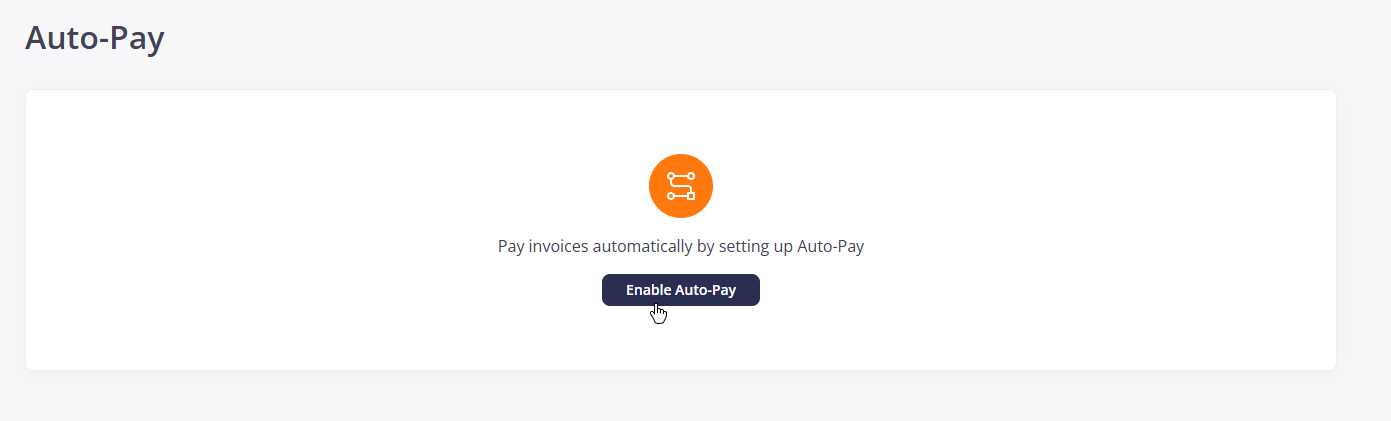
6. Set up the Auto-Pay rule.
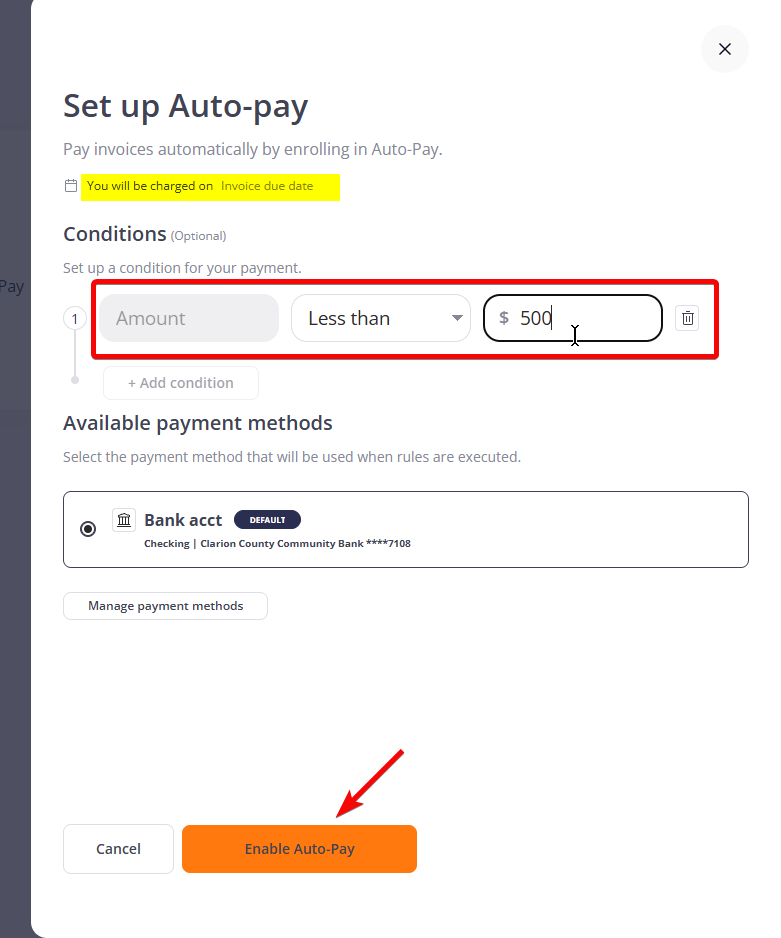
If you are okay with the system charging your payment method on the due date, you don't need to do anything but click "Enable Auto Pay" at the bottom!
If you would like to set a maximum amount, click "Add Condition," change the second dropdown to "Less Than," and enter a maximum amount. When you're done, hit "Enable Auto-Pay" at the bottom.
7. Have additional autopay questions or conditions?
If you would like more granular autopay rules, please call us and we can set them up for you!
If you have any questions please give us a call. We'll be more than happy to walk you through this process over the phone.